Organizing Your Video Project Using a Two Column Script
One of the first things I do to kick off a new video project is to start a two-column script. This format is great because it’ll help you identify the elements you’ll need to tell your story. The document can also help your project team (or your client) visualize the finished video. Once the script is fully fleshed out, it’ll give your editor the direction he or she will need to get started.
Let’s say you need to make a two-minute video about an organization’s work helping veterans in New Mexico. You’re going to film two interviews (one with a veteran your organization helped, and one with the head of the New Mexico office).
Start your word document by giving your project a name and date your script. I like to save my scripts using a naming convention that makes it easy at a glance for me to identify the client, the project and the most recent version. For a project like this, I might save my file as “VSO_NMVets_081122.” When I revisit the script and make changes a week from now, I’ll save it again as “VSO_NMVets_081822.
This type of script format is generally known as a “two column script,” but I like to add a small third column (I’ll tell you why a bit later). Label one column “Visuals” and one “Audio.” I typically fill out the “Audio” column first. You can do this before you’ve even shot your interviews. Imagining the quotes you might get from your interview subjects can be enormously helpful in figuring out where you have visual “holes” in your story. It can also help you develop thoughtful interview questions.
This is what the beginning of your script might look like:
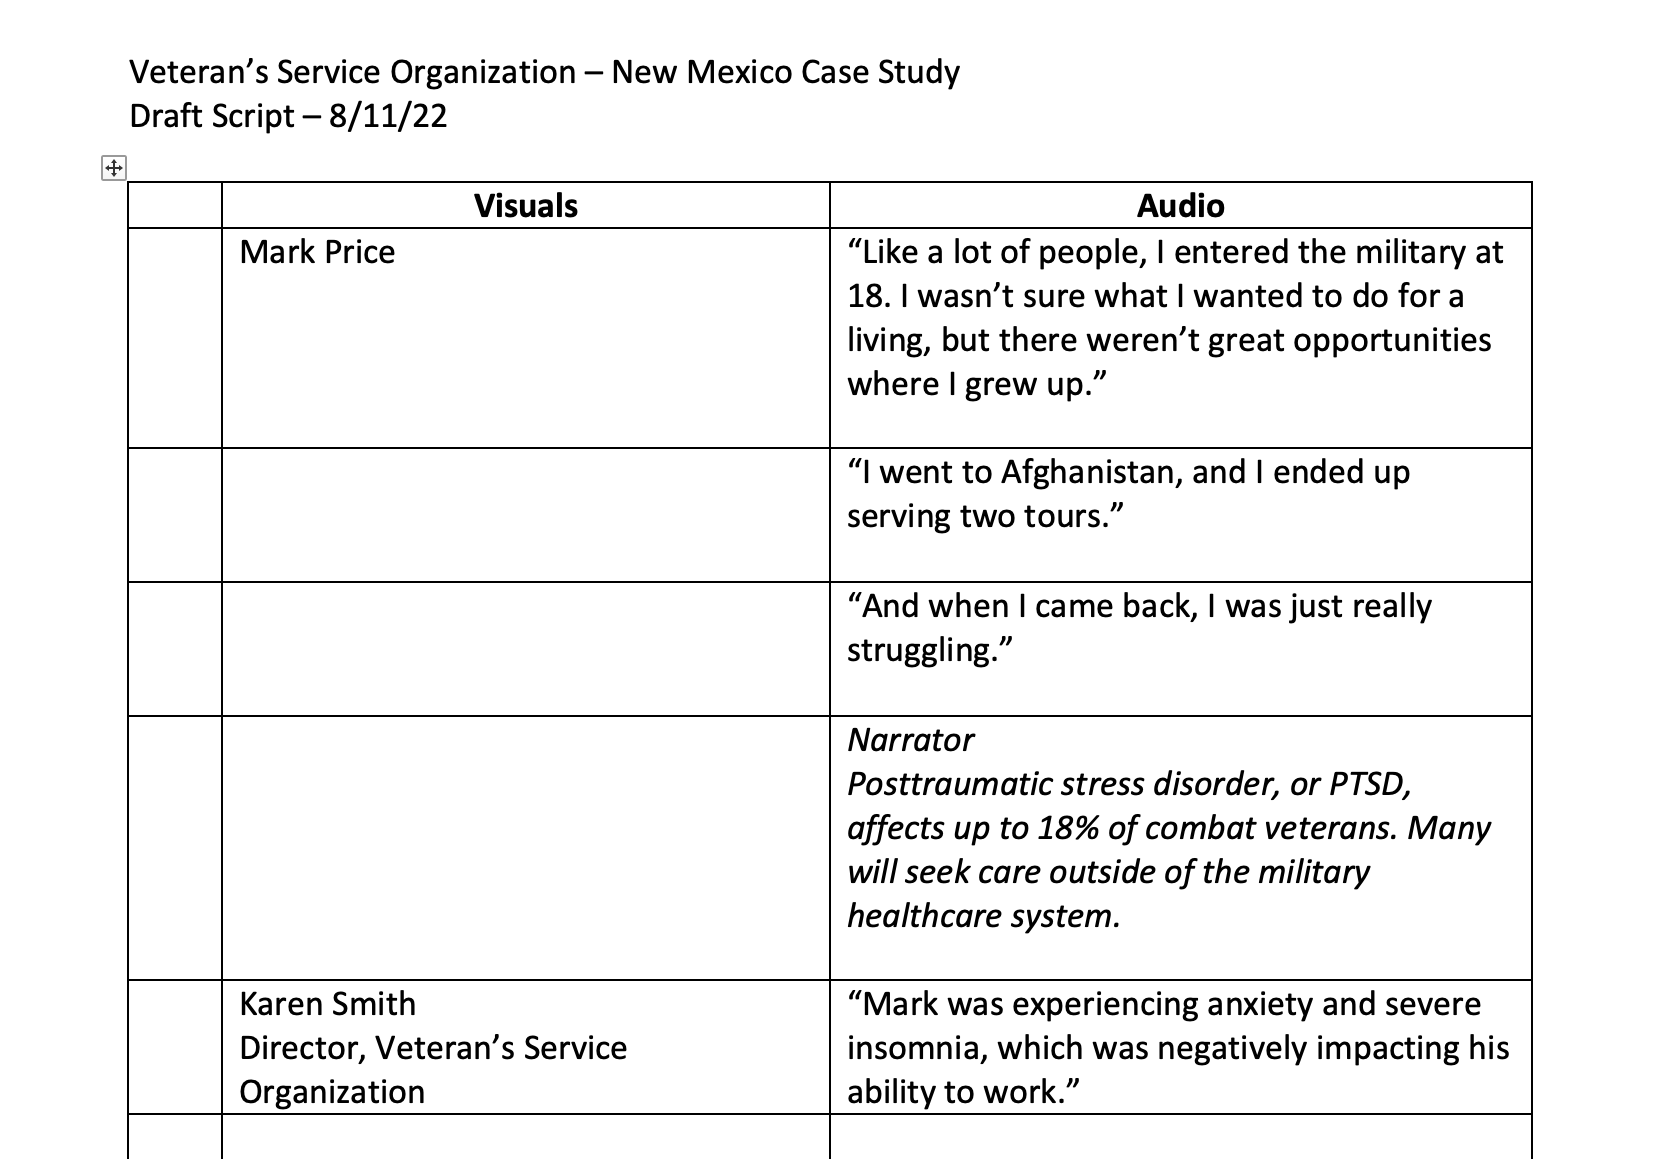
The “Visuals” column is where you’ll list what you want to see on screen. You’ll show your interview subjects on camera at times, but you may also want to tell your story using photos, b-roll, stock footage, text etc. In the “Visuals” column, list what you’d like to see on screen to illustrate each sound bite. Your editor will come up with great storytelling ideas as they’re working on your project, so it’s unlikely your video will match your script exactly, but telling the editor where you think certain elements might fit will save them time. As your script takes shape, you’ll realize there are elements missing that you’ll need in order to tell your story. The sooner you can find those elements, the more your editor will have to work with. This can help you avoid having visual “holes” in your rough cut.
Here's a script that’s further along:

I’ll reference the filename of a specific photo in the “Visuals” column where I want the photo to appear. I may also make a note of the folder where it’s saved at the bottom of the script. This eliminates guesswork for the editor. Likewise, if I’m planning to use stock footage, I’ll reference the specific shots I like from a bin of shots I’ve preselected and I’ll provide the editor with the information they need to access the bin at the end of the script. I might also include links to music selections I’ve found. Even if you are going to rely on the editor to look for music and stock footage, calling out where those elements will be needed specifically will help minimize the amount of time they spend on the search.
Once you’ve done your interviews, you can return to this script and replace your imaginary sound bites with real ones. You can also add timecodes to help make it easy for the editor to find the exact clips you want to use.
Once you feel as though your script is ready for someone to review (whether that’s your client, the editor or another creative teammate), use the first column to give each line a number. It’s very helpful to be able to reference a specific, numbered line when discussing changes with your client or your project team.
I like to keep the script updated as cuts of the video evolve. Time is often short at the end of a project. If your script accurately reflects your final video, you can quickly create what you need for the final narration record, translation or captioning. Using your script as an organizational tool can help you thoroughly visualize your project, prepare for your shoot, and ensure that your editing time is well spent.